
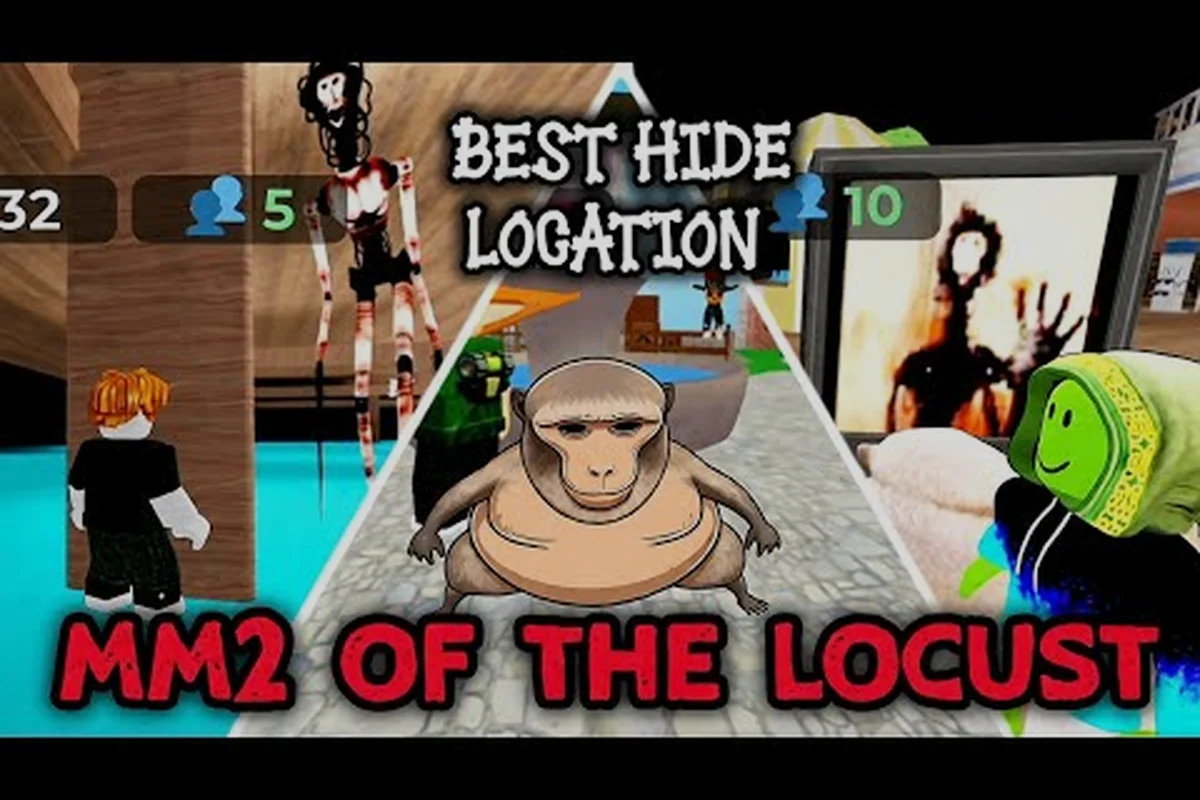
Finding the right hiding spot can mean the difference between becoming the Locust's next victim and being the last survivor standing in MM2 of The Locust. This Roblox horror survival game drops 30 players into a killer's nest where one person transforms into the terrifying Locust predator. Your survival depends entirely on concealment, positioning, and knowing which spots genuinely block line of sight versus those that look safe but leave you exposed. Whether you're new to the game or looking to improve your win rate, mastering the art of hiding separates consistent survivors from those who get caught within the first thirty seconds. Understanding the map layout, learning which props provide real cover, and developing spatial awareness for detecting approaching hunters are essential skills that most players overlook until it's too late.
Hiding Mechanics: Concealment and Line of Sight
The hiding system in MM2 of The Locust relies on a combination of visual concealment, line-of-sight blocking, and spatial awareness mechanics that create tension-filled gameplay moments. When you crouch behind objects, your character becomes significantly harder to spot from a distance, especially in darker areas of the Locust's nest environment. The game uses a detection system where the Locust killer must physically see you to register you as a target, meaning that obstacles between you and the hunter create genuine protection rather than just visual privacy. Thick walls, large furniture pieces, and solid structures completely block detection, while smaller objects like crates, barrels, and low walls provide limited concealment that works best when combined with distance from the Locust's patrol route.
Understanding the difference between visual cover and actual blocking is crucial because many objects that appear solid from your perspective actually have gaps the Locust can see through. Glass windows, chain-link fences, and decorative elements often create partial visibility that makes you detectable even when you believe you're hidden. The Locust's detection range appears to be approximately 15-20 studs in optimal lighting conditions, dropping significantly in shadowed areas where your silhouette becomes harder to distinguish. Players who master this mechanic by learning which objects provide genuine protection versus decorative cover consistently survive longer than those who rely on instinct alone.
The MM2 of The Locust controls guide emphasizes that holding the crouch button while stationary behind solid objects creates the safest possible hiding state, though remaining completely motionless for extended periods also makes you vulnerable to sweep patterns the Locust learns over time. Movement while crouched produces subtle audio cues that sharp players and experienced Locusts can detect, creating a risk-reward dynamic where staying still provides better concealment but increases your chance of being caught in predictable positions. The game's pre-alpha status means mechanics may shift with updates, but the fundamental hiding principles based on obstruction and lighting have remained consistent since launch.
Top Hiding Spots by Map Location
Each map area in MM2 of The Locust offers distinct hiding opportunities based on its architecture, object density, and typical Locust patrol patterns that form over repeated gameplay sessions. The industrial warehouse section provides numerous shipping containers and large machinery pieces that create natural corridors where survivors can move while remaining concealed from casual glances across open spaces. Corner rooms with single entry points offer defensive advantages because you can watch the entrance while staying deep in shadow, though these positions become death traps if the Locust discovers your location and cuts off your only escape route. Basement areas generally offer better concealment due to reduced lighting, but their limited exit options make them risky choices during later game phases when fewer survivors remain and the Locust can afford to wait players out.
| Map Area | Best Hiding Spots | Detection Risk | Escape Options |
|---|---|---|---|
| Industrial Zone | Shipping containers, behind machinery | Low | Multiple pathways |
| Residential Block | Under beds, inside closets | Very Low | Window + door |
| Basement Level | Behind crates, in storage rooms | Extremely Low | Limited stairs |
| Open Courtyard | Bushes, near walls | High | Run only |
| Ventilation Area | Inside vents, behind fans | Medium | Connected tunnels |
The ventilation system deserves special mention as an underutilized resource because players often avoid these narrow passages assuming they're trapped paths, when in reality they provide excellent mobility between otherwise disconnected areas of the map. Hiding inside inactive vent sections works particularly well because the mesh covers obscure your body while the metallic structure blends with surrounding industrial elements, making you nearly invisible to players scanning the environment. Upper platforms in multi-level structures offer aerial hiding positions that the Locust must actively seek rather than stumble upon during ground-level patrols, though reaching these positions requires early-game positioning before panic sets in and competition for safe spots intensifies.
Community reports from experienced players indicate that rotating between hiding spots rather than committing to a single location dramatically increases survival rates during longer rounds where the Locust has time to methodically clear the map. The key insight is that no hiding spot remains safe indefinitely, especially as player count decreases and the Locust gains certainty about remaining survivor positions. Establishing a mental map of three to four reliable hiding locations within reasonable running distance of each other allows you to relocate when your current position becomes compromised without losing significant ground to the Locust's patrol area.
Advanced Hiding Strategies for Consistent Wins
Pro-level hiding in MM2 of The Locust extends far beyond simply crouching behind objects, requiring active engagement with the game's spatial awareness systems and prediction of Locust movement patterns based on survivor distribution. The most effective strategy involves what experienced players call "shadow hopping," where you move from one concealed position to another during the brief moments when the Locust's attention is directed elsewhere, such as when chasing a different survivor or investigating a noisy location. This approach requires patience and discipline because the temptation to remain in comfortable hiding spots leads to predictable positioning that skilled Locust players exploit ruthlessly.
Timing your movements with ambient audio cues significantly reduces your detection risk during repositioning, as the Locust's hearing appears to prioritize recent sound sources when determining patrol directions. Jumping, landing hard, or running while uncrouched creates distinct audio signatures that travel through the map environment, whereas slow deliberate crouch movement produces minimal noise that blends with background atmosphere. Players who master the art of reading audio cues from other survivors—gunfire, collisions, footsteps—can predict when the Locust will investigate those areas and time their own movements to exploit the temporary distraction window.
Reading the Locust's Patrol Behavior
Understanding how the Locust AI or player-controlled killer moves through the map provides crucial intelligence for planning your hiding route and selecting positions that avoid their typical search patterns. The game seems to weight Locust attention toward areas with recent noise or visible survivor movement, meaning that sections where other players died or triggered audio events become temporarily dangerous as the Locust investigates those locations. Staying away from death locations for at least thirty seconds after hearing combat sounds dramatically reduces your chance of encountering the killer during their investigation phase. Similarly, avoiding direct sight lines to popular hiding spots that other survivors might use creates distance between your position and the inevitable confrontation that occurs when the Locust clears those obvious choices.
The psychological warfare aspect of hiding cannot be understated because surviving as a survivor often depends more on understanding opponent psychology than raw positioning skill. When the Locust is player-controlled rather than AI, reading their playstyle—whether they're aggressive rushers who chase sounds immediately or methodical clearers who sweep areas completely—informs your risk tolerance for movement and hiding spot selection. Aggressive Locusts require extreme caution with audio cues but reward patience with patrol gaps, while methodical killers require more creative hiding choices that avoid their thorough search patterns.
Optimal Hiding Duration Guidelines
| Game Phase | Recommended Hiding Duration | Relocation Frequency | Risk Level |
|---|---|---|---|
| Early Game (30-20 players) | Stay hidden 45-60 seconds | Every 2 minutes | Low |
| Mid Game (20-10 players) | Stay hidden 30-45 seconds | Every 90 seconds | Medium |
| Late Game (10-5 players) | Stay hidden 15-30 seconds | Every 60 seconds | High |
| Final Phase (5-2 players) | Stay hidden 10-15 seconds | Every 30 seconds | Critical |
These guidelines represent general patterns rather than rigid rules because game flow varies significantly based on map layout, number of active Locusts if mechanics allow, and how aggressively other survivors are moving and making noise. The critical insight is that hiding duration should inversely correlate with remaining player count, meaning you should accept more risk and move more frequently as the round progresses and your hiding spots become statistically more likely to be checked. Players who treat early-game cautiousness as a valid strategy for late-game phases often find themselves trapped in increasingly obvious positions while the Locust methodically eliminates the remaining survivors.
Common Hiding Mistakes to Avoid
Even experienced players fall into predictable hiding patterns that the Locust learns to exploit, creating systematic vulnerabilities that skilled killers target for easy eliminations. The first critical mistake is staying in the same hiding spot after hearing the Locust pass by nearby, because the killer's return sweep almost certainly includes checking areas they recently cleared when they lacked complete certainty about survivor absence. Survivors who assume the "all clear" after hearing the Locust move away often get caught in second passes that arrive within fifteen to thirty seconds of the initial patrol.
Another frequent error involves choosing hiding spots based on proximity to spawn areas rather than strategic value, leading to overcrowding in starting zones that experienced Locusts immediately target for guaranteed early eliminations. The temptation to hide near your initial position ignores the reality that other survivors have the same instinct, creating obvious concentration zones that skilled Locust players exploit by rushing these areas before survivors have time to disperse throughout the map. Establishing early-game mobility by moving away from spawn clusters within the first thirty seconds of each round significantly reduces your risk during the vulnerable early phase when the Locust can eliminate players before they establish any strategic positioning.
| Mistake | Why It Fails | Correct Approach |
|---|---|---|
| Static hiding after Locust passes | Killer returns for second sweep | Relocate immediately after patrol |
| Hiding in spawn clusters | Predictable concentration point | Spread out during early game |
| Choosing visible spots over safe ones | Obvious to casual scanning | Select obscure but accessible locations |
| Never repositioning | Becomes predictable location | Rotate positions every 60-90 seconds |
| Moving too quickly after hiding | Audio cue reveals position | Wait 5-10 seconds before settling |
Players frequently underestimate the importance of entrance and exit planning when selecting hiding spots, choosing concealment without considering how they'll escape if the Locust discovers their location. Hiding deep inside rooms with single exits creates deadlock scenarios where the Locust can block your only escape route, whereas positions near multiple pathways or with windows provide tactical flexibility that increases survival odds when confrontation becomes unavoidable. The best hiding spots combine concealment with optionality, allowing you to remain hidden or escape based on developing situation awareness rather than forcing reactive decisions with limited choices.
Combining Hiding with Escape Route Planning
True survival mastery in MM2 of The Locust requires integrating hiding strategies with active escape route planning rather than treating them as separate gameplay elements that compete for your attention. The most effective survivors maintain constant awareness of at least two possible escape paths from their current position, with a primary route optimized for speed and a secondary route that trades time for reduced detection risk. This dual-route planning becomes invaluable when the Locust begins closing in on your location and you must make split-second decisions about whether to hold position or relocate immediately.
For more detailed information about specific map layouts and optimal escape points, check out our MM2 of The Locust best escape spots guide which provides comprehensive coverage of each map area's exit routes and strategic positioning opportunities. Understanding the relationship between hiding spots and escape routes transforms your gameplay from reactive hiding to proactive survival, where every position choice considers both immediate concealment needs and longer-term mobility requirements as the round progresses and safe zones potentially shrink.
Environmental awareness extends beyond visual concealment to include understanding which areas of the map offer natural chokepoints where the Locust must slow down, environmental hazards that can be exploited during chase sequences, and vertical spaces where your mobility advantages might exceed the killer's capabilities. Players who study map geometry and understand Locust movement limitations can create distance through clever routing that pure speed cannot achieve, especially in maps with complex multi-level structures where the killer's pathfinding may not perfectly match player movement options.
The transition from hiding phase to escape phase represents the most dangerous moment in any MM2 of The Locust round because it requires abandoning the safety of concealment for active movement that generates audio and visual signatures the Locust can track. Pre-planning your escape trigger conditions—such as hearing the Locust within a certain distance or seeing them enter your immediate area—removes decision paralysis during high-stress moments and ensures you execute escape protocols immediately rather than hesitating until escape becomes impossible. Common trigger conditions include hearing killer footsteps within fifteen studs, seeing the Locust enter your visible area, or receiving audio/visual confirmation of another survivor's elimination nearby.
Equipment and Power-Up Usage While Hiding
If the game includes equipment powers or items that modify hiding effectiveness, timing their use during optimal moments significantly impacts your survival potential throughout each round. Consumable items that create temporary audio distractions can be used to draw the Locust away from your hiding area, allowing you to relocate safely or reach critical escape points without direct confrontation. Speed boosts applied before attempting risky movements dramatically increase your survival odds during the vulnerable repositioning phase, potentially carrying you past the Locust's detection range before they can react to your movement.
Strategic use of equipment transforms hiding from passive survival into active counter-play, where survivors can manipulate Locust behavior through resource management rather than pure stealth. The key insight is that items hoarded until late game often provide less value than early deployment because surviving to late game requires consistent smart decisions throughout rather than hoping for lucky equipment draws during critical moments. Balancing immediate survival needs with resource conservation requires ongoing assessment of your current position, likely remaining players, and strategic value of various equipment options.
Frequently Asked Questions
What are the safest hiding spots in MM2 of The Locust?
The safest hiding spots combine complete line-of-sight blocking with multiple escape options and moderate distance from typical Locust patrol routes. Basement storage rooms, industrial machinery alcoves, and upper-level corners away from stairs generally offer the best combination of concealment and tactical flexibility. Avoid hiding spots near spawn areas, in obvious locations like under common furniture, or anywhere with single exit routes that the Locust can easily block.
How does crouching improve hiding effectiveness in MM2 of The Locust?
Crouching significantly reduces your character's visual profile and apparent size, making you harder to detect from normal viewing distances especially in dimly lit areas. The crouch mechanic appears to lower your detection range by approximately 20-30% compared to standing position, though this advantage only matters if you're already behind objects that block the Locust's direct line of sight to your position.
Should I stay hidden or run when I hear the Locust nearby?
Whether to stay or go depends on your current position safety and available escape routes. If you're deeply concealed with the Locust passing nearby without detecting you, staying still typically provides better outcomes because movement risks generating audio cues. However, if your hiding spot offers limited exits or you're uncertain about your concealment level, proactively relocating while the Locust is distracted by nearby sounds often proves safer than risking discovery in a compromised position.
How do I escape when the Locust finds my hiding spot?
When discovered, immediately attempt to break line of sight by moving perpendicular to the Locust's facing direction rather than directly away, which minimizes their reaction time while maximizing your distance gained. Use environmental obstacles to create repeated line-of-sight breaks that reset the Locust's targeting, and prioritize paths toward other survivors' locations where the killer must choose between following you and investigating potential additional targets.
What controls should I master for better hiding performance in MM2 of The Locust?
Priority controls include the crouch toggle for maintaining concealed positions, sprint management for escape sequences, and jump functionality for accessing elevated hiding spots or clearing obstacles during chases. Practicing smooth transitions between crouch and sprint states while maintaining spatial awareness of your surroundings significantly improves your ability to navigate dangerous areas without detection.