
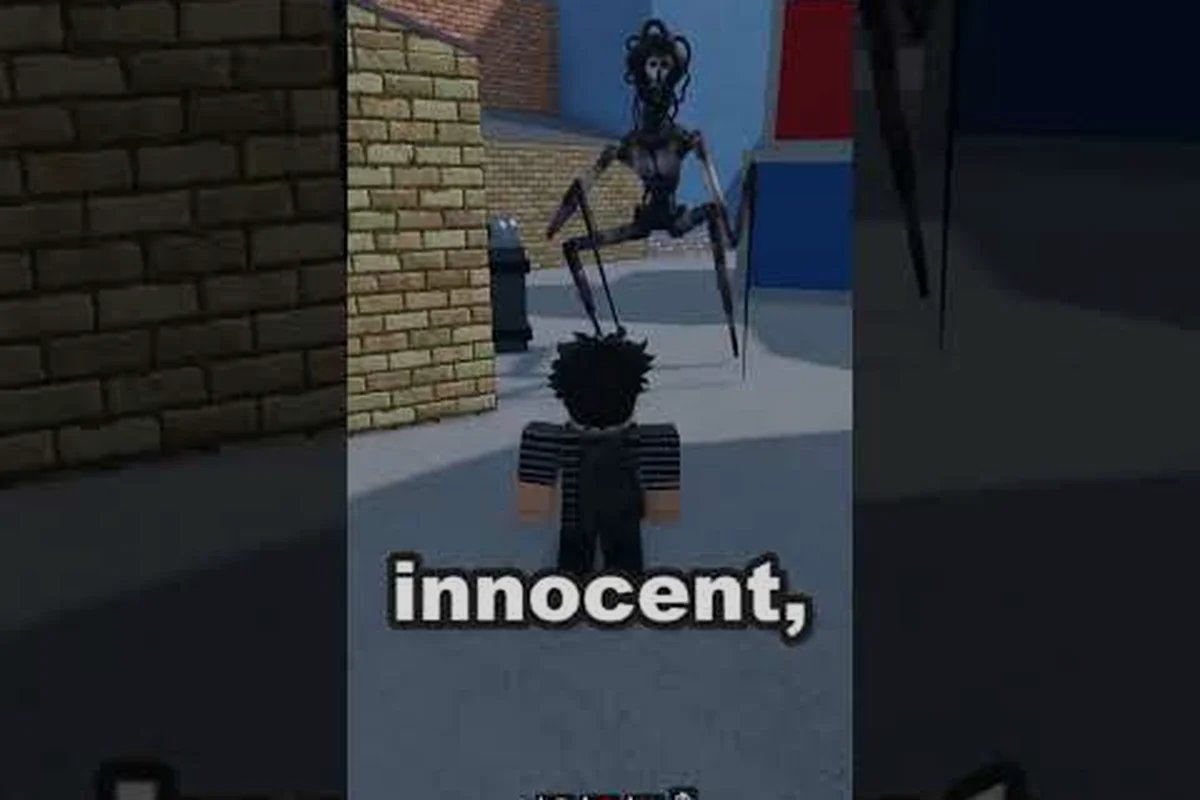
In MM2 of The Locust, survival depends entirely on knowing where to disappear when the killer closes in. The Locust hunts relentlessly through dark corridors, and every second counts when you hear those footsteps echoing behind you. Finding reliable escape spots—the corners that break line of sight, the rooms that buy you precious seconds—separates survivors who last thirty seconds from those who survive until the final countdown. This guide maps out the best hiding locations across every available map, explains how map difficulty shapes your strategy, and reveals which spots the Locust struggles to check. Whether you are dropping into The Locust's Nest for the first time or grinding through a new map update, these escape spots will keep you breathing a little longer.
What Makes an Escape Spot Viable
Before diving into specific locations, you need to understand what makes an escape spot actually work in this game. The Locust relies on line of sight to detect survivors—躲藏的本质是打破那条视线连接. When you duck behind solid geometry, the killer cannot see you even if they are standing just a few studs away. This mechanic sounds simple, but mastering it requires understanding how each map's architecture creates or destroys hiding opportunities. The core survival loop revolves around recognizing geometry that blocks vision, timing your movements to avoid detection, and choosing escape routes that do not put you directly in the Locust's patrol path.
Map design in MM2 of The Locust follows a maze philosophy where corridors branch repeatedly and rooms connect through narrow doorways. That tight geometry creates natural chokepoints where you can press yourself against walls or huddle behind furniture to break line of sight. The game's pre-alpha status means layouts shift between updates, but the fundamental principle remains constant—any solid obstacle between you and the Locust is a potential escape spot. Pay attention to props, furniture, room dividers, and structural pillars that create shadow pockets where the killer's vision fails to reach.
The audio dimension adds another layer to escape spot effectiveness. The Locust emits distinctive sound cues when moving, and skilled survivors learn to use these audio cues to gauge distance without relying solely on sight. When you cannot see the killer but can hear them nearby, ducking into a solid escape spot and holding perfectly still often saves you from detection. Movement itself generates noise, which means every sprint toward a hiding spot carries risk—sometimes the nearest escape spot is not the safest choice if reaching it requires cutting close to the Locust's known position.
The Locust's Nest Map: Essential Hiding Locations
The Locust's Nest serves as the primary battleground in this Roblox horror survival game, and learning its layout is essential for any serious survivor. This map features interconnected corridors, multiple room types, and a handful of distinctive hiding zones that experienced players return to match after match. The developers from THE STALKERS OG designed the space to reward spatial memory—survivors who internalize the map layout make faster decisions when panic sets in during a Locust encounter. Community reports indicate that The Locust's Nest generates particularly tense moments because its corridors create long sightlines where the killer can spot you from surprising distances.
Corridor Hiding Zones
The long hallways that connect major rooms in The Locust's Nest seem dangerous at first glance, but they contain strategic alcoves that function as effective escape spots. Doorway recesses along main corridors provide just enough depth to break line of sight when the Locust passes by. Position yourself in the corner of any doorway—preferably one where you can still monitor both directions of the corridor—and you become nearly invisible to hunters moving at speed. The key is selecting a doorway that does not face directly toward the Locust's spawn point, because early-round movement through these corridors can catch you exposed before you reach your preferred hiding zone.
Side passages branching off main corridors often contain scattered debris, broken furniture, and structural damage that creates irregular geometry. These imperfections generate small pockets where you can wedge yourself against walls and remain hidden even when the Locust walks directly past your position. The map's pre-alpha status means some debris layouts vary between sessions, but the general principle holds—anywhere the corridor geometry deviates from a perfect rectangle creates potential escape spots. Watch for corner shadows, stacked boxes, and fallen beams that extend visual coverage beyond what the corridor's basic shape suggests.
Room-Based Escape Strategies
Interior rooms in The Locust's Nest offer more substantial escape options compared to corridor positioning, but they come with their own risks. Large furniture pieces—tables, desks, shelves—create hiding zones when you crouch behind them and stay motionless. The Locust must physically look past these obstacles to detect you, and the killer's patrol patterns often carry them past furniture-heavy rooms without thoroughly checking behind every object. Rooms with multiple entry points let you reposition quickly if one exit becomes compromised, making them high-value locations when the Locust begins actively hunting your sector of the map.
Storage areas and utility rooms scattered throughout The Locust's Nest deserve special attention as escape spots. These smaller rooms typically contain equipment racks, supply crates, and machinery that generate extensive visual interference. The confined space means you have limited movement options if discovered, but it also means the Locust struggles to maneuver effectively inside—clever survivors use these tight quarters to slip past the killer when they duck through doorways. Stack positioning matters in storage rooms: aim for spots where multiple large objects create overlapping shadow zones rather than hiding behind single isolated pieces.
Map Difficulty and Its Impact on Escape Spot Selection
| Escape Route | Visibility Level | Proximity to Spawn (Rooms) | Locust Patrol Frequency | Recommended Loadout |
|---|---|---|---|---|
| Ventilation Shaft Network | Low | 2 | Rare (10% encounter) | Flashlight + Stun Trap |
| Drainage Tunnel | Medium | 3 | Occasional (25%) | Speed Boost + Distraction |
| Storage Room Hatch | High | 1 | Frequent (60%) | Smoke Bomb + Silent Sprint |
| Boiler Room Escape | Medium-Low | 4 | Moderate (40%) | Radar Ping + Health Pack |
Not all maps in MM2 of The Locust treat escape spots equally. Map difficulty fundamentally changes how much time you have to reach hiding locations, how well the Locust can patrol through spaces, and how many viable escape spots exist per square meter of playable area. Understanding these difficulty variations helps you adjust your survival strategy appropriately rather than applying a one-size-fits-all approach that fails on harder maps.
| Map Difficulty | Locust Speed | Patrol Coverage | Escape Spot Density | Recommended Playstyle |
|---|---|---|---|---|
| Easy | Slow | Limited | High | Explore freely, experiment with positions |
| Medium | Moderate | Balanced | Moderate | Stick to known spots, watch audio cues |
| Hard | Fast | Extensive | Low | Move constantly, prioritize exits over hiding |
Easy maps typically feature more open spaces with abundant furniture, multiple rooms with good hiding potential, and corridors that branch so frequently you can almost always find a nearby escape spot. The Locust on these maps moves slowly enough that even suboptimal positioning gives you recovery time—you might survive a poor escape spot choice simply because the killer takes too long to reach you. New players should start on easier maps to build spatial awareness before graduating to challenging environments where escape spot quality directly determines survival.
Hard maps flip this dynamic entirely. Faster Locust movement means you have fewer seconds to reach any hiding location, and the killer's enhanced patrol coverage reduces the total number of truly safe escape spots. Corridors become tighter and more linear, reducing the number of alcove opportunities, while rooms feature minimal furniture that fails to break line of sight effectively. On these maps, experienced players shift from passive hiding to active movement—rather than settling into a single escape spot and waiting, they maintain motion along patrol routes that keep them just ahead of the Locust's search pattern.
How to Unlock New Maps and Expand Your Escape Options
The variety of escape spots available to you depends partly on which maps you have unlocked within the game. Currently, MM2 of The Locust features The Locust's Nest as the main playable map, with the developers teasing additional maps in upcoming updates. Players looking to maximize their escape spot repertoire should focus on understanding how map unlocks work and what progression milestones open new environments.
According to the official Roblox game page, map unlocks in MM2 of The Locust are tied to player progression and achievement milestones. Completing survival rounds without getting caught, reaching certain time thresholds as a survivor, and accumulating in-game points all contribute toward unlocking additional maps as they become available. The game has already received significant updates since its July 2026 launch, with the August 2026 update bringing bug fixes and performance improvements that affect map stability and loading consistency.
Map codes play a role in accessing community-created variations or specific challenge modes when the developers enable those features. The Roblox platform allows game creators to implement code-based access systems, and MM2 of The Locust may eventually include map codes for accessing special modes or limited-time environments. Current players report that the main game progression system handles most map access, but staying tuned to official announcements from THE STALKERS OG group ensures you catch new map releases the moment they drop.
Map Comparison: Escape Spot Quality by Environment
Different maps emphasize different survival skills, and understanding these environmental biases helps you choose where to practice specific escape techniques. The following comparison breaks down how major map characteristics affect your ability to find and use effective escape spots across the current MM2 of The Locust roster.
| Map Name | Primary Theme | Escape Spot Density | Notable Features | Best For |
|---|---|---|---|---|
| The Locust's Nest | Dark corridors, industrial rooms | Moderate | Frequent doorways, scattered debris | Learning corridor positioning |
| Industrial Wing | Factory setting, machinery | Low-Moderate | Large open bays, narrow aisles | Active movement practice |
| Residential Block | Home interiors, furniture-rich | High | Closets, beds, appliances | Passive hiding mastery |
The Locust's Nest remains the most accessible map for developing fundamental escape spot skills. Its blend of corridor sections and room interiors gives you practice with both positioning styles, and the moderate escape spot density means you face enough challenges to improve without being overwhelmed by sparse hiding options. The industrial wing concept, if it arrives in a future map update, would shift the survival meta toward active evasion rather than passive hiding—players who master passive positioning on The Locust's Nest would need to relearn their approach entirely.
Furniture-rich environments like a potential residential block map would invert this challenge by providing escape spots on nearly every surface. The abundance of hiding locations would make passive survival much easier, but it would also create complacency if players never develop the active movement skills necessary for harder maps. Smart players use furniture-heavy maps to experiment with different escape spot types rather than settling into a single preferred hiding location—building versatility serves you better than optimizing one specific strategy.
Advanced Escape Techniques for Hardcore Survival
Beyond basic positioning, surviving in MM2 of The Locust rewards players who develop advanced techniques that go beyond simply hiding behind objects. These strategies require practice and map knowledge, but they dramatically increase your survival odds against an experienced Locust hunter. Consider incorporating these techniques into your gameplay once you have mastered the fundamental escape spot mechanics.
Audio Misdirection and Timing
The Locust's footsteps and breathing sounds create an audio signature that informed players use to track the killer's movements. You can exploit this audio system by creating deliberate sounds in one area while positioning yourself in an escape spot elsewhere—effectively luring the Locust away from your actual location. This technique works best in maps with multiple room types where sound travels unpredictably. Toss a small object, stomp briefly near a doorway, or let a door slam shut behind you deliberately, then immediately relocate to a hiding spot you have pre-selected.
Timing your movements to the Locust's patrol rhythm significantly increases escape spot effectiveness. Most Locust players develop predictable patterns as they sweep through maps, pausing at corners, checking major rooms in sequence, and returning to spawn areas periodically. Study these patterns during early rounds when fewer survivors remain and the killer has less reason to vary their approach. When you understand the rhythm, you can time your movement between escape spots to coincide with the Locust checking other areas—essentially surfing the gap between their patrol sweeps to reposition safely.
Multi-Point Evacuation Routes
Professional survivors never commit to a single escape spot. Instead, they mentally map three or four viable hiding locations along any given route, giving them fallback options if their preferred spot is compromised or occupied by another player. This multi-point approach requires quick spatial reasoning and the ability to assess escape spot quality in real-time as you move. When your primary escape spot becomes unsafe—because another player is already using it, because the Locust is approaching from an unexpected direction, or because you simply cannot reach it in time—your second and third options keep you alive.
The best hiding spots guide expands on this multi-point strategy with specific room-by-room recommendations for maximizing evacuation route options. Combining the positional knowledge from that guide with the map-wide escape spot information here creates a comprehensive survival framework that handles nearly any situation the Locust throws at you.
What the Map Update Brings to Escape Mechanics
The August 2026 map update touched multiple aspects of MM2 of The Locust, including some changes that affect escape mechanics directly. Understanding these updates helps you adapt your strategy to current game conditions rather than relying on outdated information from earlier versions. The developers have committed to ongoing improvements based on player feedback, making it worthwhile to track patch notes and community discussions about map changes.
Performance optimizations in recent updates improved map loading consistency, which means escape spots that previously suffered from geometry glitches now function reliably. Players reported that The Locust's Nest occasionally spawned with missing furniture or corrupted collision data in earlier versions, creating unpredictable escape spot availability. These issues have been addressed in recent patches, giving survivors more confidence that the map they learned will behave consistently when they need it most.
Bug fixes related to player collision with map objects also affect escape spot usage. Previously, some hiding positions had collision detection issues that caused players to clip through furniture or be detected despite being visually obscured. The current version provides more reliable collision behavior, meaning escape spots that seemed viable but were actually buggy now work as intended. Test your preferred hiding locations after major updates to ensure the fixes have not inadvertently created new problems or altered escape spot viability.
Frequently Asked Questions
Which map has the best escape spots for beginners in MM2 of The Locust?
The Locust's Nest offers the most forgiving escape spot environment for new players. Its moderate density of hiding locations combined with the medium difficulty setting gives beginners enough opportunities to practice positioning without overwhelming them. Focus on learning doorway recesses and furniture-based hiding spots before experimenting with more advanced techniques.
How do map codes work in MM2 of The Locust for accessing different environments?
Map codes in MM2 of The Locust currently function through the Roblox platform's code system for special game modes and limited-time events. Main map access comes through progression milestones rather than codes, but the developers have indicated that code-based map access may expand in future updates. Check official announcements from THE STALKERS OG for the latest on code availability.
Does map difficulty affect how many escape spots the Locust checks during a patrol?
Yes, harder maps increase the Locust's patrol coverage and movement speed, which means the killer checks more escape spots per minute than on easier maps. Higher difficulty also reduces the total number of viable hiding spots by tightening corridors and removing furniture that would otherwise break line of sight. Survivors must prioritize active movement over passive hiding on challenging maps.
What should I do if all the escape spots in my area are compromised by the Locust?
When escape spots fail you, shift to active evasion rather than attempting to hide in suboptimal positions. Move along the edges of the map toward less-patrolled areas, using audio misdirection to keep the Locust guessing about your actual location. The map list overview shows all available maps so you can prepare evacuation routes to different areas when your current zone becomes too dangerous.
Are there any escape spots that work across all maps in MM2 of The Locust?
While specific geometry varies between maps, certain principles transfer universally: doorways always provide some line-of-sight blocking, corners create shadow zones, and furniture-heavy rooms offer more hiding options than barren corridors. The multi-point evacuation strategy recommended in the beginner tips guide applies to any map layout you encounter.
Finding the right escape spots in MM2 of The Locust transforms you from prey into a survivor who frustrates the killer match after match. The knowledge in this guide gives you a foundation—understanding mechanics, memorizing The Locust's Nest layout, respecting difficulty scaling, and developing advanced techniques—but true mastery comes from applying these lessons repeatedly in actual matches. Use every round as a learning opportunity, adjust your strategies based on what works and what fails, and never stop exploring new escape spot possibilities as the developers expand the map roster in future updates.