
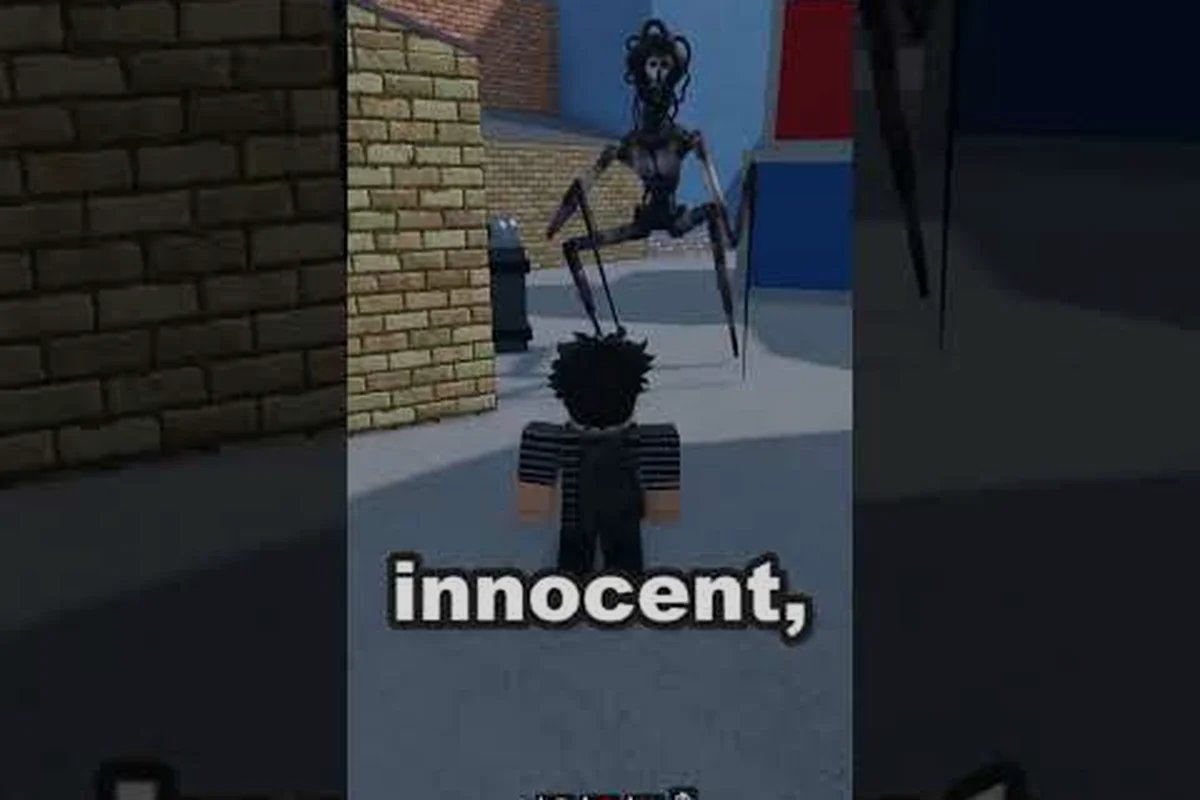
In MM2 of The Locust, the entire survival experience revolves around one massive structure: the Locust's Nest. This sprawling hive map challenges every player to navigate dark corridors, locate escape routes, and outmaneuver the killer before time runs out. Understanding the nest areas, including spawn points and exit locations, gives survivors a critical advantage in this fast-paced Roblox horror game. Whether you're a newcomer learning the map layout or a seasoned player refining your escape strategy, mastering these nest areas separates the survivors from the caught. A solid grasp of the Map Voting mechanics can help you anticipate nest placements and plan your escape routes accordingly.
Understanding the Locust's Nest Structure
The Locust's Nest serves as the primary battleground in MM2 of The Locust, a Roblox horror survival experience developed by THE STALKERS OG. Since its launch on July 27, 2026, the game has accumulated over 26 million visits and remains one of the most popular survival titles on the platform. The map consists of interconnected corridors, chambers, and hidden rooms that create an atmospheric maze-like environment. Players quickly discover that simply running is not enough—knowing the nest structure and its various areas determines whether you escape or become another victim of the Locust killer.
The overall nest architecture follows a branching design where multiple pathways converge at central hub chambers. Each area within the hive features distinct visual elements that help orient survivors during tense chases. The dark aesthetic of the map means players must rely heavily on spatial memory and environmental awareness rather than clear sightlines. Understanding how the nest areas connect allows survivors to predict the Locust's movement patterns and plan escape routes accordingly. The map's vertical dimension also plays a role, with some areas positioned above or below the main corridors, creating opportunities for strategic plays on both sides of the hunt.
| Nest Area Category | Visual Characteristics | Risk Level |
|---|---|---|
| Central Hubs | Large open chambers with multiple exits | High (high traffic) |
| Corridor Networks | Narrow passages with limited cover | Medium (easy ambushes) |
| Side Rooms | Small enclosed spaces with furniture | Low (good hiding) |
| Hidden Alcoves | Secret corners with minimal lighting | Very Low (camper zones) |
| Exit Zones | Prominent doors with escape markers | Critical (Locust patrols) |
Spawn Points and Starting Positions
Every round of MM2 of The Locust begins with all survivors spawning at designated spawn points scattered throughout the nest. These spawn locations are randomized within specific zones to prevent meta strategies where players would always start near exits. The spawn system ensures that each round feels fresh while maintaining balance between the killer and survivors. New players often make the mistake of staying near their spawn point, not realizing that experienced Locust players know exactly where these initial spawn zones are located and patrol them during the early game phase.
The main spawn areas typically place players in the outer regions of the Locust's Nest, away from the central conflict zones. This design gives survivors time to orient themselves and begin formulating an escape plan before the Locust begins actively hunting. However, spawning in these peripheral areas also means players face longer journeys to reach exit locations, which can be devastating if the Locust establishes patrol routes between spawn points and escape routes. Players who spawn in the northern sectors of the map enjoy proximity to certain exits but must navigate through the most claustrophobic corridor sections to reach them. Conversely, southern spawn points offer more open movement options but expose players to the Locust's primary hunting grounds.
Survivor feedback from community gameplay sessions reveals that spawn point awareness significantly impacts survival rates. Players who immediately move away from their spawn location and find temporary cover increase their odds of lasting through the initial hunting phase. The spawn system does not favor any particular player or team, making individual map knowledge the primary determining factor in early-game survival. Understanding which direction leads to safety and which leads deeper into dangerous territory provides the foundation for all subsequent escape attempts.
Exit Locations and Escape Route Planning
| Statistic | Value |
|---|---|
| Total Visits | 26,323,797+ |
| Favorites | 70,873 |
| Online Players | ~36,600 |
| Max Players Per Server | 30 |
| Group Members (THE STALKERS OG) | 24,106+ |
Exit locations represent the ultimate goal for every survivor in MM2 of The Locust, yet these critical areas are heavily contested by the Locust killer. The nest features multiple exit points positioned at the map's edges, each requiring survivors to complete specific actions or reach the location before escape becomes possible. Identifying these exit locations before a round begins allows players to plan optimal routes and avoid wandering into dead ends during desperate escape attempts. The map displays subtle visual cues near exits, including different lighting conditions and environmental markers that distinguish escape zones from regular nest areas.
The northern exit of the Locust's Nest connects to an underground tunnel system that provides multiple branching paths for escaping survivors. This exit location sits adjacent to one of the largest central hub chambers, making it both accessible and dangerous. Players who choose this exit route must navigate through the most populated area of the map, where the Locust frequently establishes ambush positions. The southern exit leads to an outdoor section of the nest exterior, offering better visibility but requiring passage through narrow passages that limit escape options when being pursued. Eastern and western exits provide middle-ground routes with moderate difficulty, though these paths see heavy traffic from both survivors and the Locust.
Exit location strategy extends beyond simply reaching the doors—timing and coordination play equally important roles in successful escapes. The Locust cannot be in multiple places simultaneously, so observant survivors can watch the killer's position and time their approach to exits accordingly. Solo players should prioritize exits with shorter approach paths, while coordinated groups might attempt more ambitious routes that require protecting slower teammates. Community discussions highlight that players who study exit locations before attempting difficult escapes dramatically improve their survival statistics over time.
| Exit Name | Map Position | Approach Difficulty | Recommended For |
|---|---|---|---|
| Northern Tunnel | Top center | Hard | Experienced players |
| Southern Exterior | Bottom center | Medium | Speed-focused runners |
| Eastern Passage | Right side | Medium | Balanced playstyle |
| Western Corridor | Left side | Medium | Hiding-oriented players |
| Central Hub Door | Dead center | Very Hard | Last resort only |
Dark Map Navigation Tips
Navigation within the Locust's Nest presents unique challenges due to the map's deliberately low lighting conditions. The dark aesthetic creates an immersive horror atmosphere but also means players must develop alternative navigation strategies beyond simple visual recognition. Experienced survivors learn to use environmental sounds, spatial memory, and even the Locust's own movements as navigation aids. The darkness favors players who adapt their playstyle rather than those who rely on conventional sight-based orientation.
Sound plays a crucial role in dark map navigation, with the game's audio design providing directional cues about nearby activity. The Locust's footsteps, breathing, and attack sounds all carry distinct audio signatures that help survivors avoid dangerous encounters. Conversely, survivors must also manage their own noise output, as running through corridors or bumping into objects creates sounds that attract the killer. Learning to move quietly while maintaining situational awareness separates skilled survivors from those who stumble blindly through the hive. Community players recommend using headphones to maximize audio awareness during intense gameplay sessions.
Visual navigation techniques complement audio cues, with survivors learning to identify unique environmental features that serve as landmarks. Every section of the Locust's Nest contains distinctive architectural elements, including support pillars, broken walls, and unusual terrain formations that break the uniformity of dark corridors. Players who take time to observe these landmarks during early rounds develop mental maps that prove invaluable in later matches. Some survivors also use the Locust's line of sight as a navigation tool—knowing where the killer is looking helps confirm your position relative to known danger zones.
Map Size and Spatial Comparison
The Locust's Nest covers a substantial area that ranks among the larger maps available in Roblox horror survival games. Players familiar with similar titles often compare the map size to standard multiplayer levels, noting that the hive's vertical complexity adds additional navigational depth beyond its horizontal footprint. The map dimensions create meaningful gameplay implications, as survivors cannot simply memorize a single route and rely on it for every escape attempt. Instead, the large map size demands flexible navigation strategies that adapt to the Locust's position and the round's evolving circumstances.
Compared to other popular Roblox survival maps, the Locust's Nest offers a balanced mix of tight corridors and open chambers that accommodate different playstyles. The map size comparison reveals that developers intentionally created a space large enough for extended cat-and-mouse gameplay while remaining small enough that matches don't drag on indefinitely. Each area within the nest serves a specific purpose in the overall design, from narrow squeeze points that create high-tension moments to open spaces where survivors can attempt to gain distance on the pursuing killer.
The spatial distribution of nest areas follows a logical pattern that experienced players can exploit for strategic advantage. Central areas feature the highest density of resources and escape routes but also concentrate player activity, making these zones high-risk environments. Peripheral areas offer more breathing room and hiding opportunities but force survivors to traverse longer distances when attempting escapes. Understanding this spatial economy helps players make informed decisions about when to stay hidden and when to risk movement toward exit locations.
Movement Strategy Through Nest Corridors
Effective movement through the Locust's Nest requires balancing speed against stealth and visibility. Rushing directly toward exits provides the fastest escape route but exposes players to detection along the way. Slow, methodical movement through side passages and alternative routes increases stealth but risks running out of time before reaching safety. The optimal movement strategy depends on numerous factors, including the Locust's current position, the time remaining in the round, and nearby environmental cover options.
Survivors should develop mental maps of corridor shortcuts that bypass high-traffic areas and reduce overall escape time. Many corridors in the Locust's Nest contain alternative pathways that players discover through exploration and trial and error. These shortcuts often involve navigating through smaller spaces that larger players might overlook or avoid. The game's level design rewards curious players who take time to explore the nest during less dangerous moments. Movement strategy also benefits from understanding how the Locust AI and player-controlled killer navigate—knowledge of patrol patterns allows survivors to predict safe movement windows.
The timing of movement plays a decisive role in survival, with experienced players developing intuition for when to move and when to hold position. Moving during the Locust's attention on other survivors creates windows of opportunity that skilled players exploit to advance their position. However, movement during quiet moments carries its own risks, as the Locust may be waiting in ambush along commonly-used pathways. The best survivors maintain awareness of all available options and remain flexible enough to change plans based on developing situations.
Advanced Nest Area Tips and Community Secrets
Veteran players of MM2 of The Locust have uncovered numerous tips and secrets that provide significant advantages during gameplay. These community-discovered strategies often exploit subtle map features that aren't immediately obvious during normal play. Understanding these advanced techniques can dramatically improve survival rates for players who master them. Many of these secrets relate to hidden alcoves, unusual physics interactions, and timing exploits that work reliably under specific conditions.
The nest contains several secret alcoves that experienced survivors use as temporary hiding spots during active pursuits. These hidden areas are often positioned in visually obscured corners or behind environmental objects that the average player wouldn't investigate. Community guides have mapped many of these secret locations, though discovering them firsthand remains part of the game's learning curve. Some alcoves offer near-perfect hiding opportunities, while others provide only momentary confusion for the Locust before discovery.
Timing exploits represent another category of advanced nest area knowledge that separates top performers from casual players. The Locust's patrol patterns follow certain rhythms that observant survivors can predict and exploit. Understanding the timing between the killer's presence in different nest areas creates opportunities for strategic movement. Some players specialize in specific nest areas, becoming experts at navigating particular sections of the map while avoiding others entirely. This specialization approach works well for players who focus on survival rather than attempting to reach every exit location.
Frequently Asked Questions
How many spawn points are in the Locust's Nest?
The nest features four primary spawn zones positioned at the map's cardinal directions, with each zone containing multiple randomized spawn points. This spawn distribution ensures survivors begin spread across different regions of the hive rather than clustering in predictable locations.
Can I escape through any exit location in the nest?
Yes, all exit locations function equally for escaping the Locust's Nest. However, some exits offer easier approach routes than others depending on your current position and the Locust's patrol patterns. Choosing the most accessible exit for your specific situation improves escape chances significantly.
Does the map size change between rounds?
The current map maintains consistent dimensions across all rounds, though the Locust's behavior and player positions create different gameplay experiences each match. Future updates may introduce new maps with varying sizes and layouts, as the developers have announced upcoming map additions.
What are the best hiding spots near spawn points?
Side rooms and hidden alcoves positioned between spawn zones and central areas provide optimal hiding spots for new survivors. These locations offer cover from direct line of sight while remaining close to initial escape routes if the Locust begins patrolling spawn areas.
How do I improve my navigation through dark corridors?
Practice builds spatial awareness, but using environmental landmarks, listening for audio cues, and studying the nest layout during observation phases all accelerate learning. Community-created maps and guide videos provide valuable reference material for understanding the nest's structure.